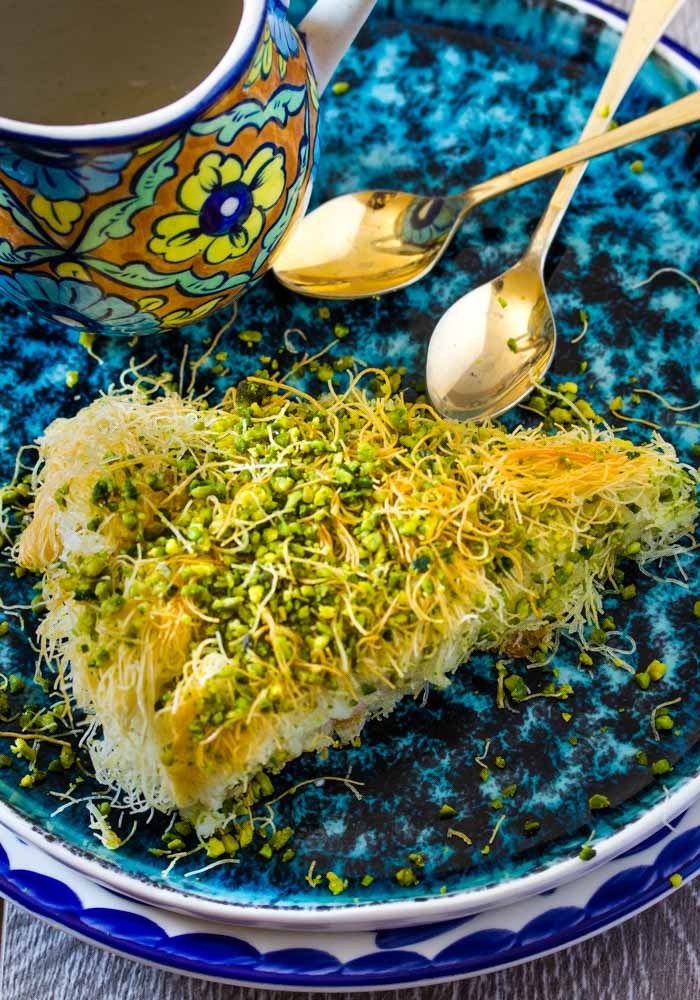
Kunafa is an iconic Middle Eastern dessert and various versions of it can be found all over the Middle East. I make it with shredded kataifi dough, a creamy sweet layer, topped with a sweet mozzarella filling, and of course drizzled with a rose flavored simple syrup. If you want to make a delicious kunafa at home, this step by step tutorial is all you need.
What is the Origin of this Popular Middle Eastern Dessert?
Kunafa (also spelled as konafeh, kunafe, knafeh) is an extremely popular Middle Eastern dessert. It has many different variations, but almost all variations are made with kataifi dough (shredded phyllo dough), a sweet cheese filling, and simple syrup.
The first time I had tried this dessert was in Bahrain, and I couldn't quite understand why there would be cheese in a dessert. But once I had it, I knew why it was so perfect! You've got to trust me, the mozzarella cheese really works here!
Also Try these Middle Eastern Desserts
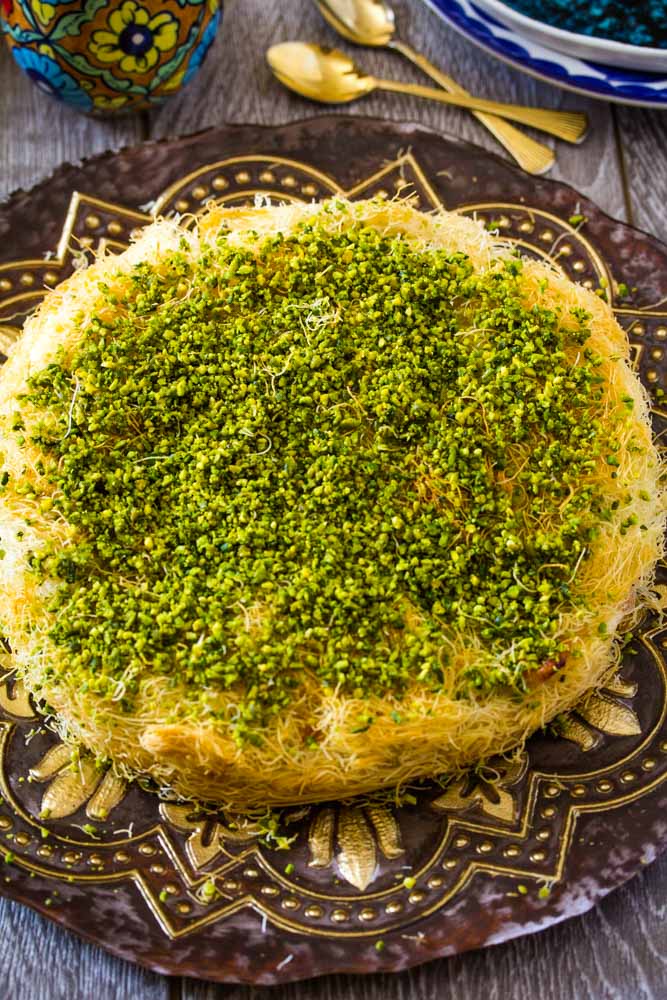
What makes kunafa special, in my humble opinion, is the different textural layers. There's a crispy shredded phyllo layer, a cream filling, and sweet stringy, oozing cheese filling. Drizzled with a rose-scented simple syrup and crushed pistachios, we are talking about flavor fireworks here. If there's one Middle Eastern dessert you must try in your lifetime, I would say it has to be the kunafa.
While it seems daunting to make at home with four components, I assure you that each part of the recipe is extremely easy to make, and assembling it is super easy too.
I've received rave reviews for this recipe, with people saying it's better than store-bought!
The Four Layers
This knafeh recipe is best explained as a layered dessert that has the following four components:
- The shredded kataifi dough which is actually layered on the very bottom and on the very top.
- A creamy sweet filling that goes in the middle. While this is an optional step, I think it adds a very delicious touch to the overall texture of the kunafa.
- A sweet mozzarella cheese layer is added as a middle layer. It sounds a little weird, but it totally works in this recipe, so stay with me!
- Finally, after it is baked, we drizzle it with a rose scented syrup. Top it with some crushed pistachios, and boy oh boy, do we have a delicious kunafa or what?!
What You Need
For the Kunafa Layer
For the Cream Filling
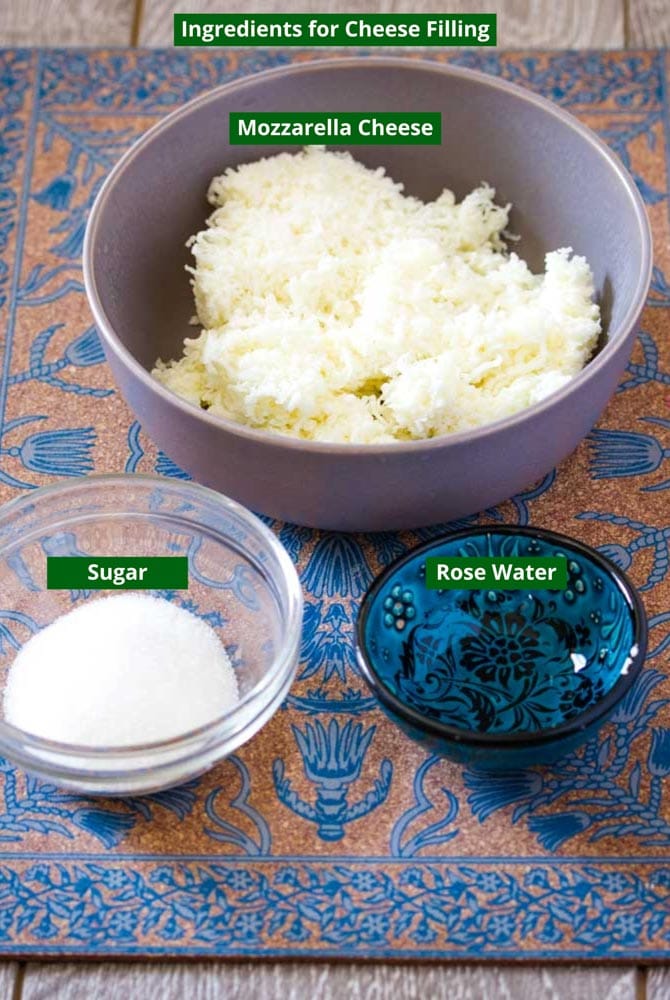
For the Cheese Filling
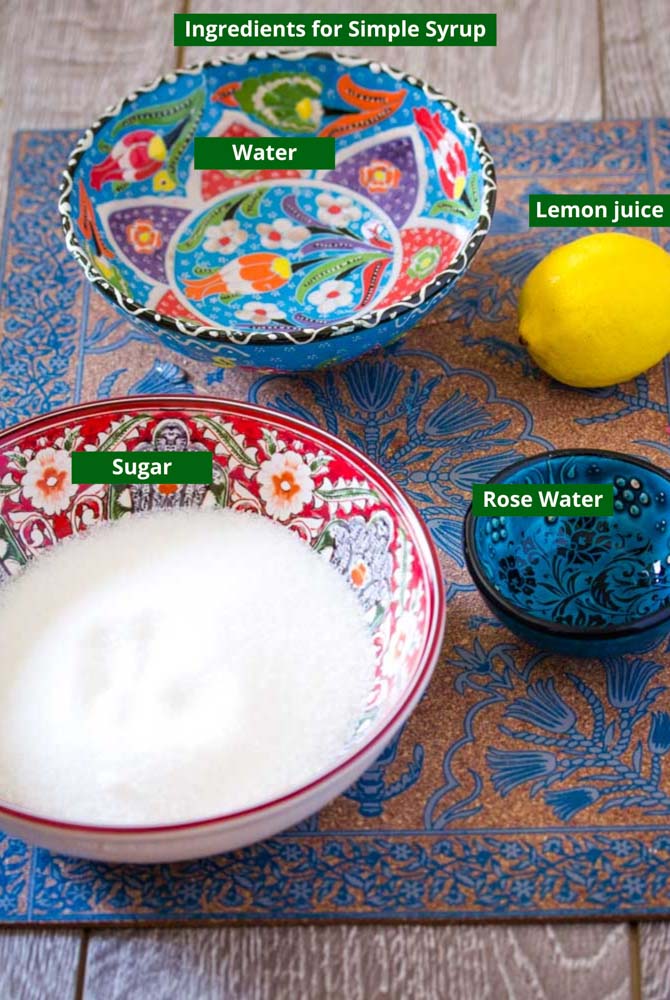
For the Rose Water Simple Sugar Syrup
How to Make It
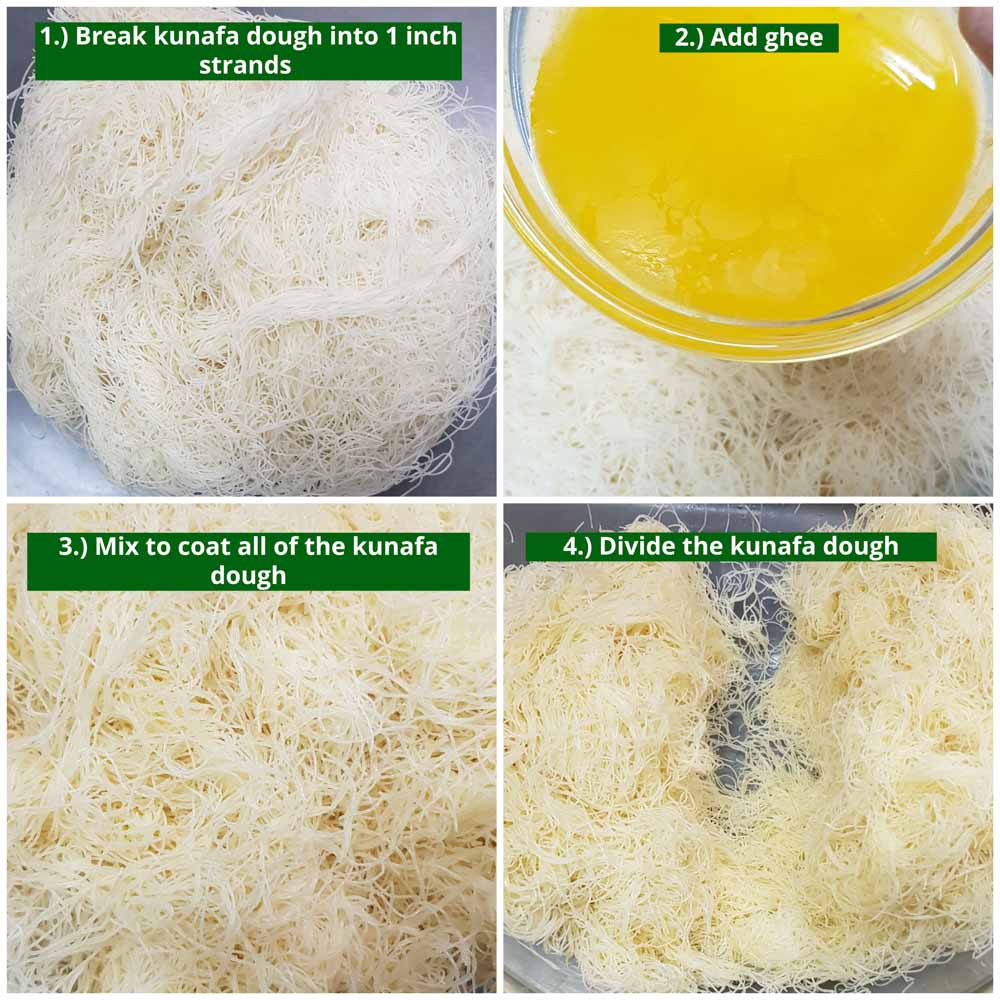
Prepare the Kunafa Layer
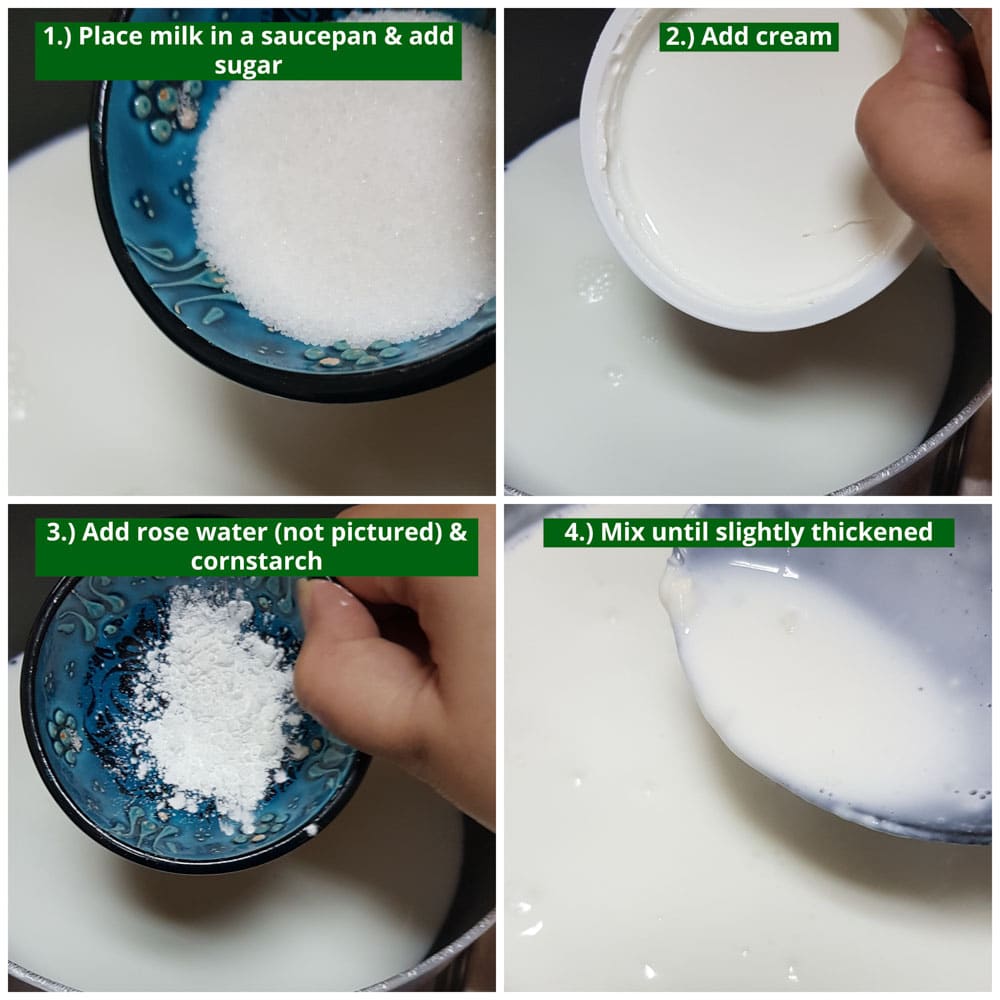
Make the Cream Filling
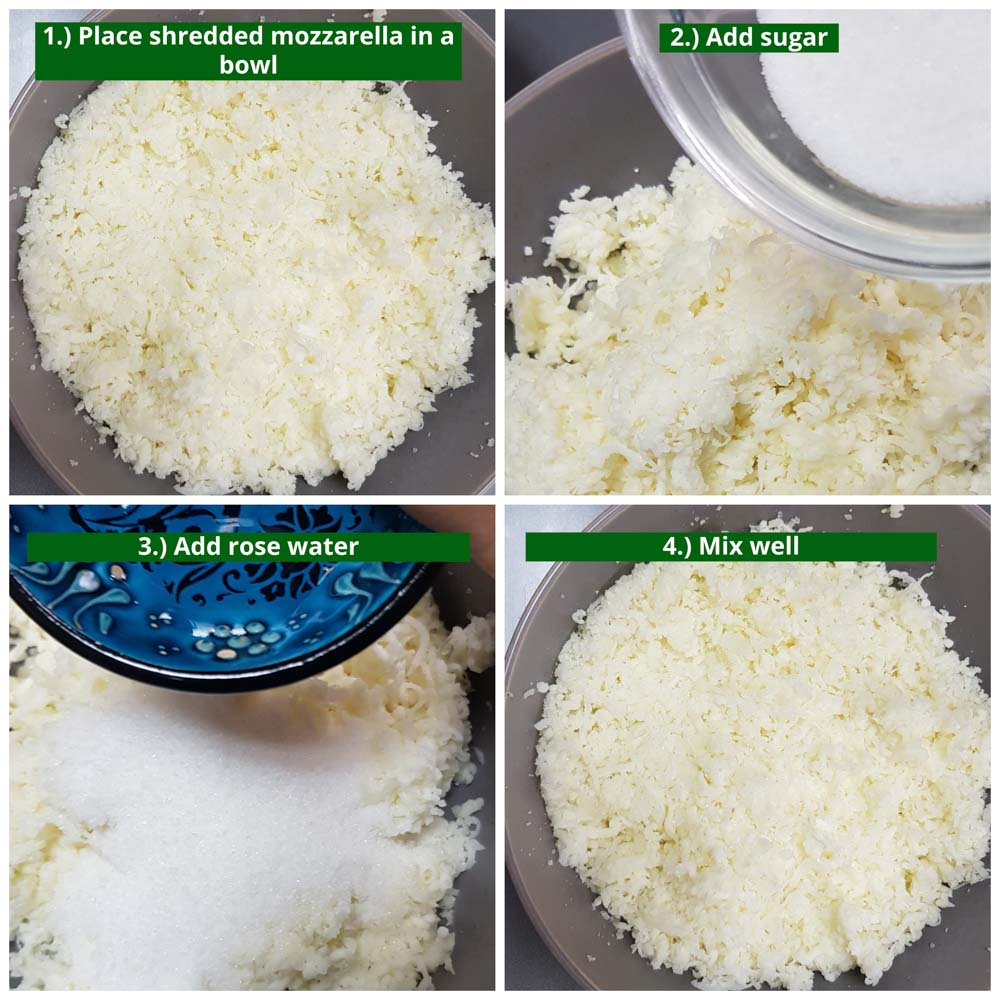
Make the Cheese Filling
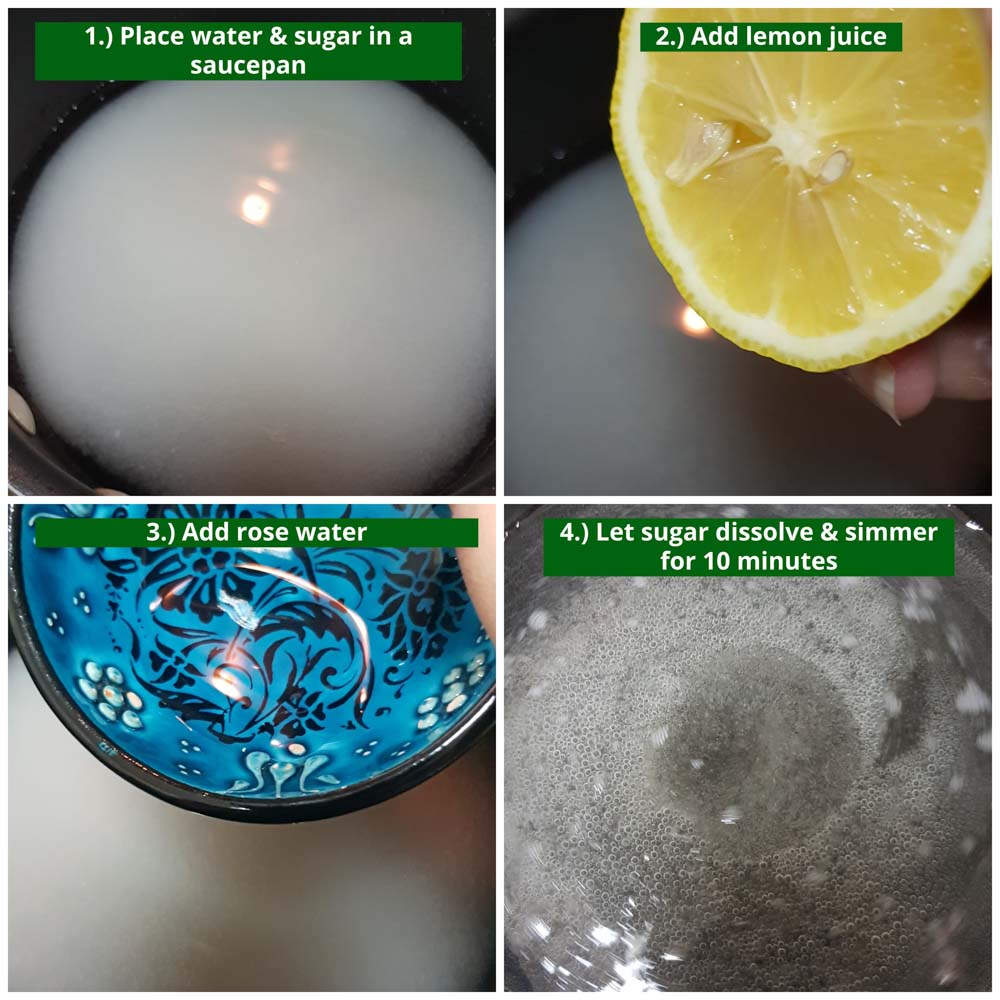
Make the Rose Scented Simple Syrup
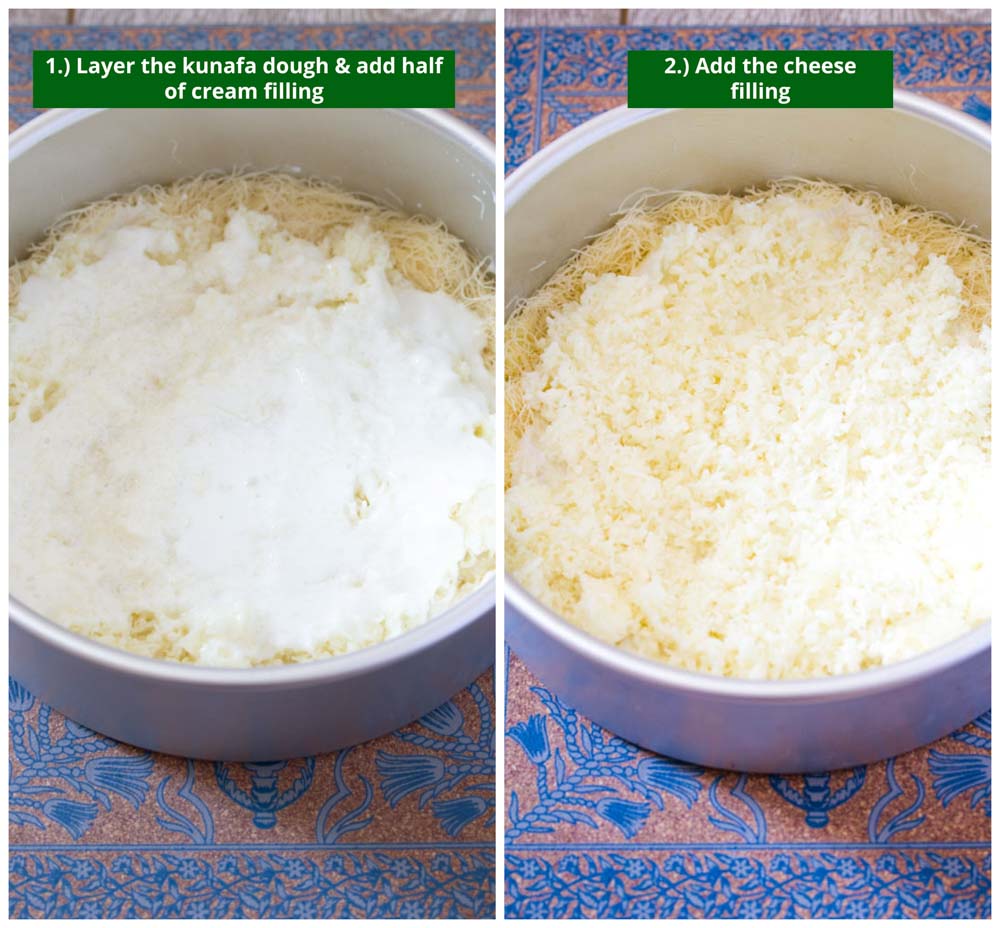
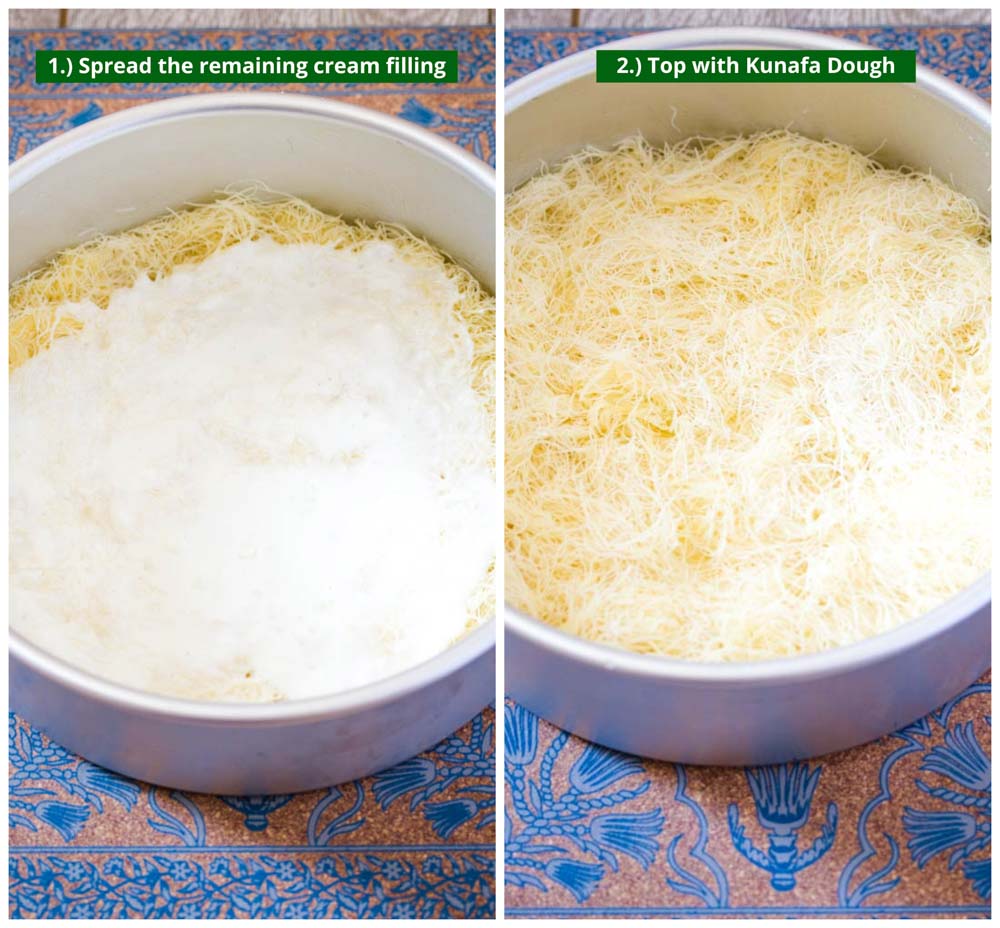
Layering the Kunafa
Bake It
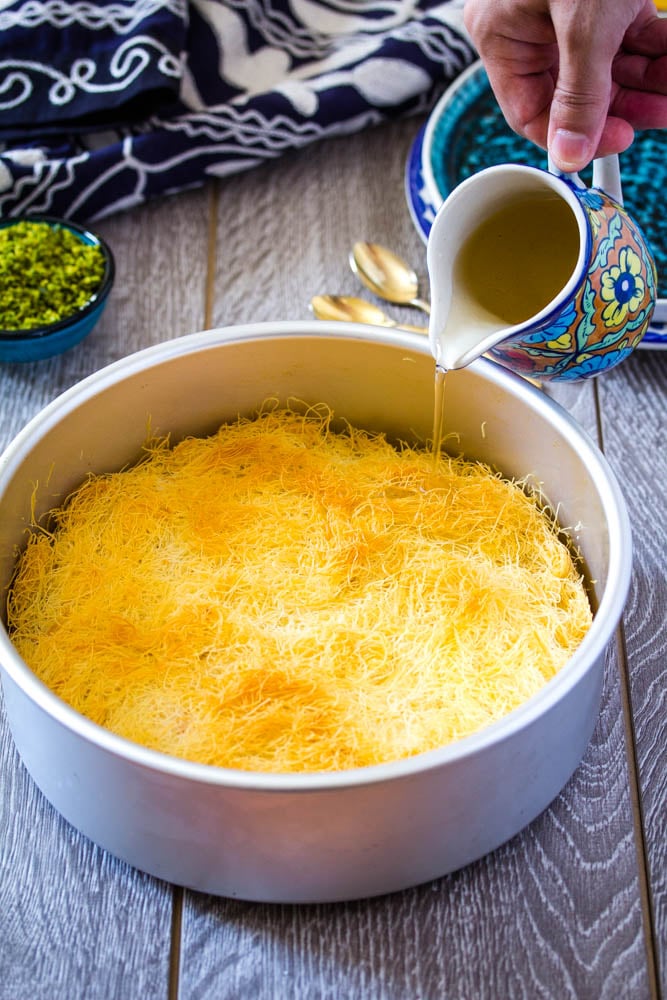
Bake the kunafa for 45-60 minutes until the top is golden brown and crunchy. Remove from the oven and immediately drizzle it with the prepared simple syrup.
Before taking it out of the baking pan, let it rest for 10 minutes.
How to Serve It
Kunafa fresh out of the oven is drizzled with the prepared simple syrup, and is best served warm. Individual slices can be warmed in the microwave if you want to enjoy it later.
Expert Tips
- To ensure that the kunafa doesn't stick to the bottom of the baking pan, grease it really well with ghee or butter. You can also line the bottom of the baking pan with parchment paper to ensure there's no sticking.
- Once the Kunafa is out of the oven, immediately drizzle it with the simple syrup, so that it soaks well.
- It is best served warm, but can be reheated in the microwave.
FAQs
Kataifi dough is a shredded phyllo style dough, and is most traditionally used to make Kunafa. An alternate that can be used is shredded thin vermicelli noodles, but it won't yield the same results. Kataifi dough can be easily found in the frozen section of Middle Eastern grocery stores. In non Middle Eastern countries it can be found in the Greek section or Middle Eastern sections of grocery stores.
Yes kunafa can be easily frozen before being baked. Just prepare all the layers, and then layer the kunafa in your baking pan. Cover well with cling film and aluminium foil, and freeze. When ready to bake, take out the frozen kunafa, let it thaw and then follow the baking instructions in this recipe.
Yes, the cream filling is optional in this recipe, and kunafa is often made with just the cheese filling. But I highly recommend this filling because it adds an added softness to the kunafa, and makes it super delicious.

Knafeh Recipe (Kunafa)
Ingredients
For the Rose Water Simple Sugar Syrup
- 1 1/4 granulated sugar
- 1 cup water
- 1 teaspoon freshly squeezed lemon juice
- 1/2 tablespoon rose water add more or less according to taste
For the Cream Filling
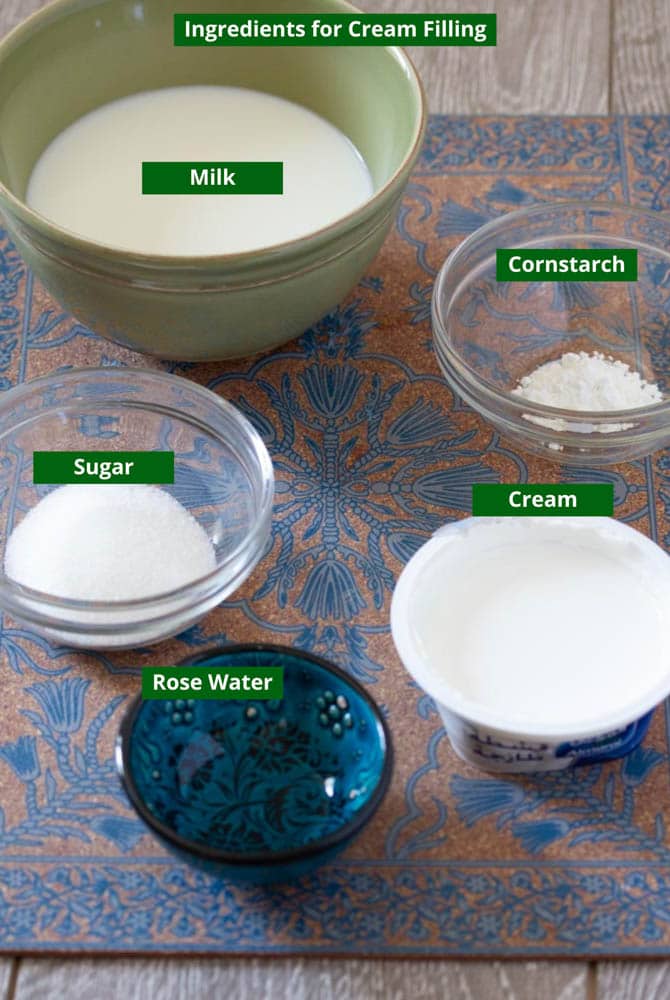
- 1 cup milk
- 1/2 cup heavy whipping cream
- 2 tablespoons sugar
- 1 teaspoon cornstarch
- 1/2 teaspoon rose water
For the Cheese Filling
- 300 grams shredded mozzarella cheese
- 3 tablespoons sugar
- 1/2 teaspoon rose water
For the Kunafa Crust
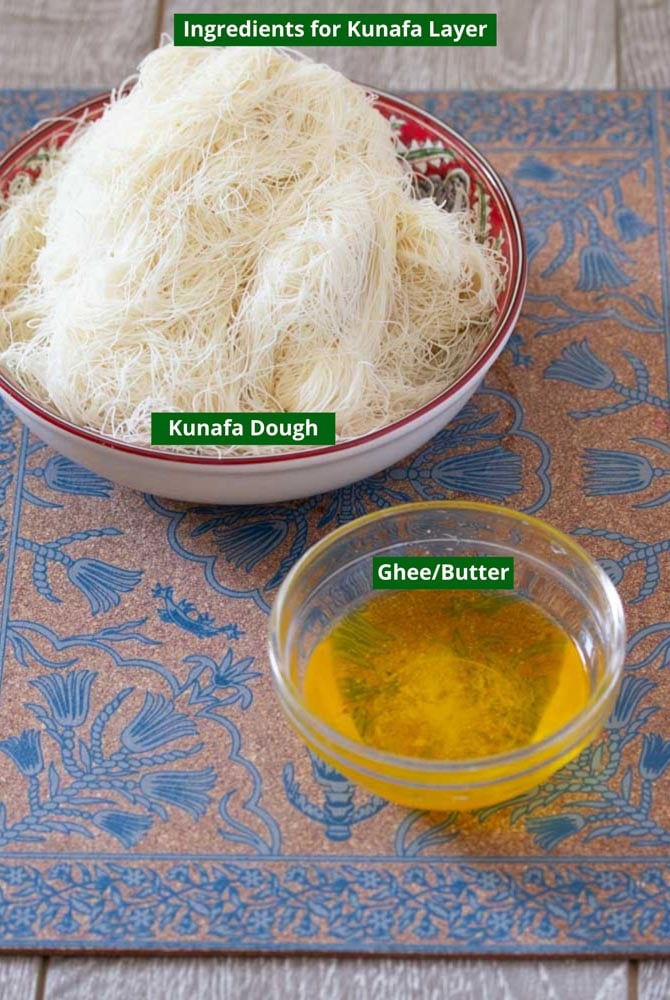
- 250 grams kunafa dough kataifi, frozen
- 1/2 cup melted ghee or butter
- For Garnish
- Pistachios
Instructions
To Make the Rose Water Simple Sugar Syrup
- Add all the ingredients in a medium sized saucepan. Let the sugar dissolve, try not to stir, so as to avoid crystalizing. Bring to a boil. Lower heat and simmer for 10 minutes until the syrup has thickened slightly. Remove from heat, and set aside.
To Make the Cream Filling:
- In a medium saucepan, combine all the ingredients, and cook on medium heat until slightly thickened. Remove from heat, and set aside.
To Make the Cheese Filling
- Combine all the ingredients, and mix until well incorporated. Set aside.
To Prepare the Kunafa
- Preheat oven to 200 C.
- Grease a round 9 inch baking pan. You can also line the pan with parchment paper, to avoid the kunafa sticking on the bottom of the pan (see notes).
- Place the kunafa dough in a large bowl, and using your hands, shred the kunafa dough strands into approximately 1 inch pieces.
- Pour the melted ghee or butter over the kunafa dough, and using your hands, mix well, making sure all the kunafa dough strands are covered with it.
- Transfer 2/3 of the kunafa dough to the baking pan, and tightly pack it in using the your fingers or the back of a measuring cup. Make sure to create a wall around the sides of the pan.
- Pour in half of the cooled cream filling, and spread it, but do not spread it right till the edges as it may seep out of the kunafa while baking.
- Now add the cheese filling and spread.
- Add the remaining cream filling and spread it evenly.
- Cover with the remaining kunafa dough and again press so that the kunafa dough is packed. Make sure all edges around the pan are covered with the kunafa dough.
- Place the pan in the oven and bake for 45 to 60 minutes, until the kunafa is golden brown. To check the doneness of the kunafa, insert a knife in the edge and gently lift to see if the kunafa has cooked from the bottom. My kunafa was ready in 45 minutes.
- Remove from the oven, and immediately pour over the prepared rose water simple sugar syrup, using about 3/4 of it.
- Let the kunafa rest for 5 to 10 minutes, in order to soak the syrup, and then flip it onto a serving platter.
- Garnish with crushed pistachios.
- Cut into wedges, and immediately serve, with reserved sugar syrup.
- Kunafa is best eaten warm, but is equally delicious at room temperature.

Looks delicious! Very clear step-by-step guide. I will sure give it a try!
WOW! Am intrigued and would definitely love to try this recipe. I love your easy-to-follow instructions; thanks for sharing!
As an Italian, I thought I found all of the ways I could eat mozzarella, but I was very wrong! This kunafa recipe is extraordinary and the flavor out of this world! Thank you for sharing!
This is truly a unique recipe as it is the first time that I see it. So excited to give it a try!
Thanks Mahi! I'm sure you'll love the recipe 🙂
I have never heard of mozarella cheese in a dessert, but this looks amazing. I can't wait to try it.
You have to try it, to know how delicious it is! 🙂
I had made this and my first ever kunafa. Its absolutely delicious and highly recommended. This recipe is a keeper and will make it again.
Kunafa looks delicious!! That's the first I've heard of mozarella cheese in a dessert but i must work. You've explained the recipe in great detail it's great
Thank you!! 🙂